PLASTIC wrap painting
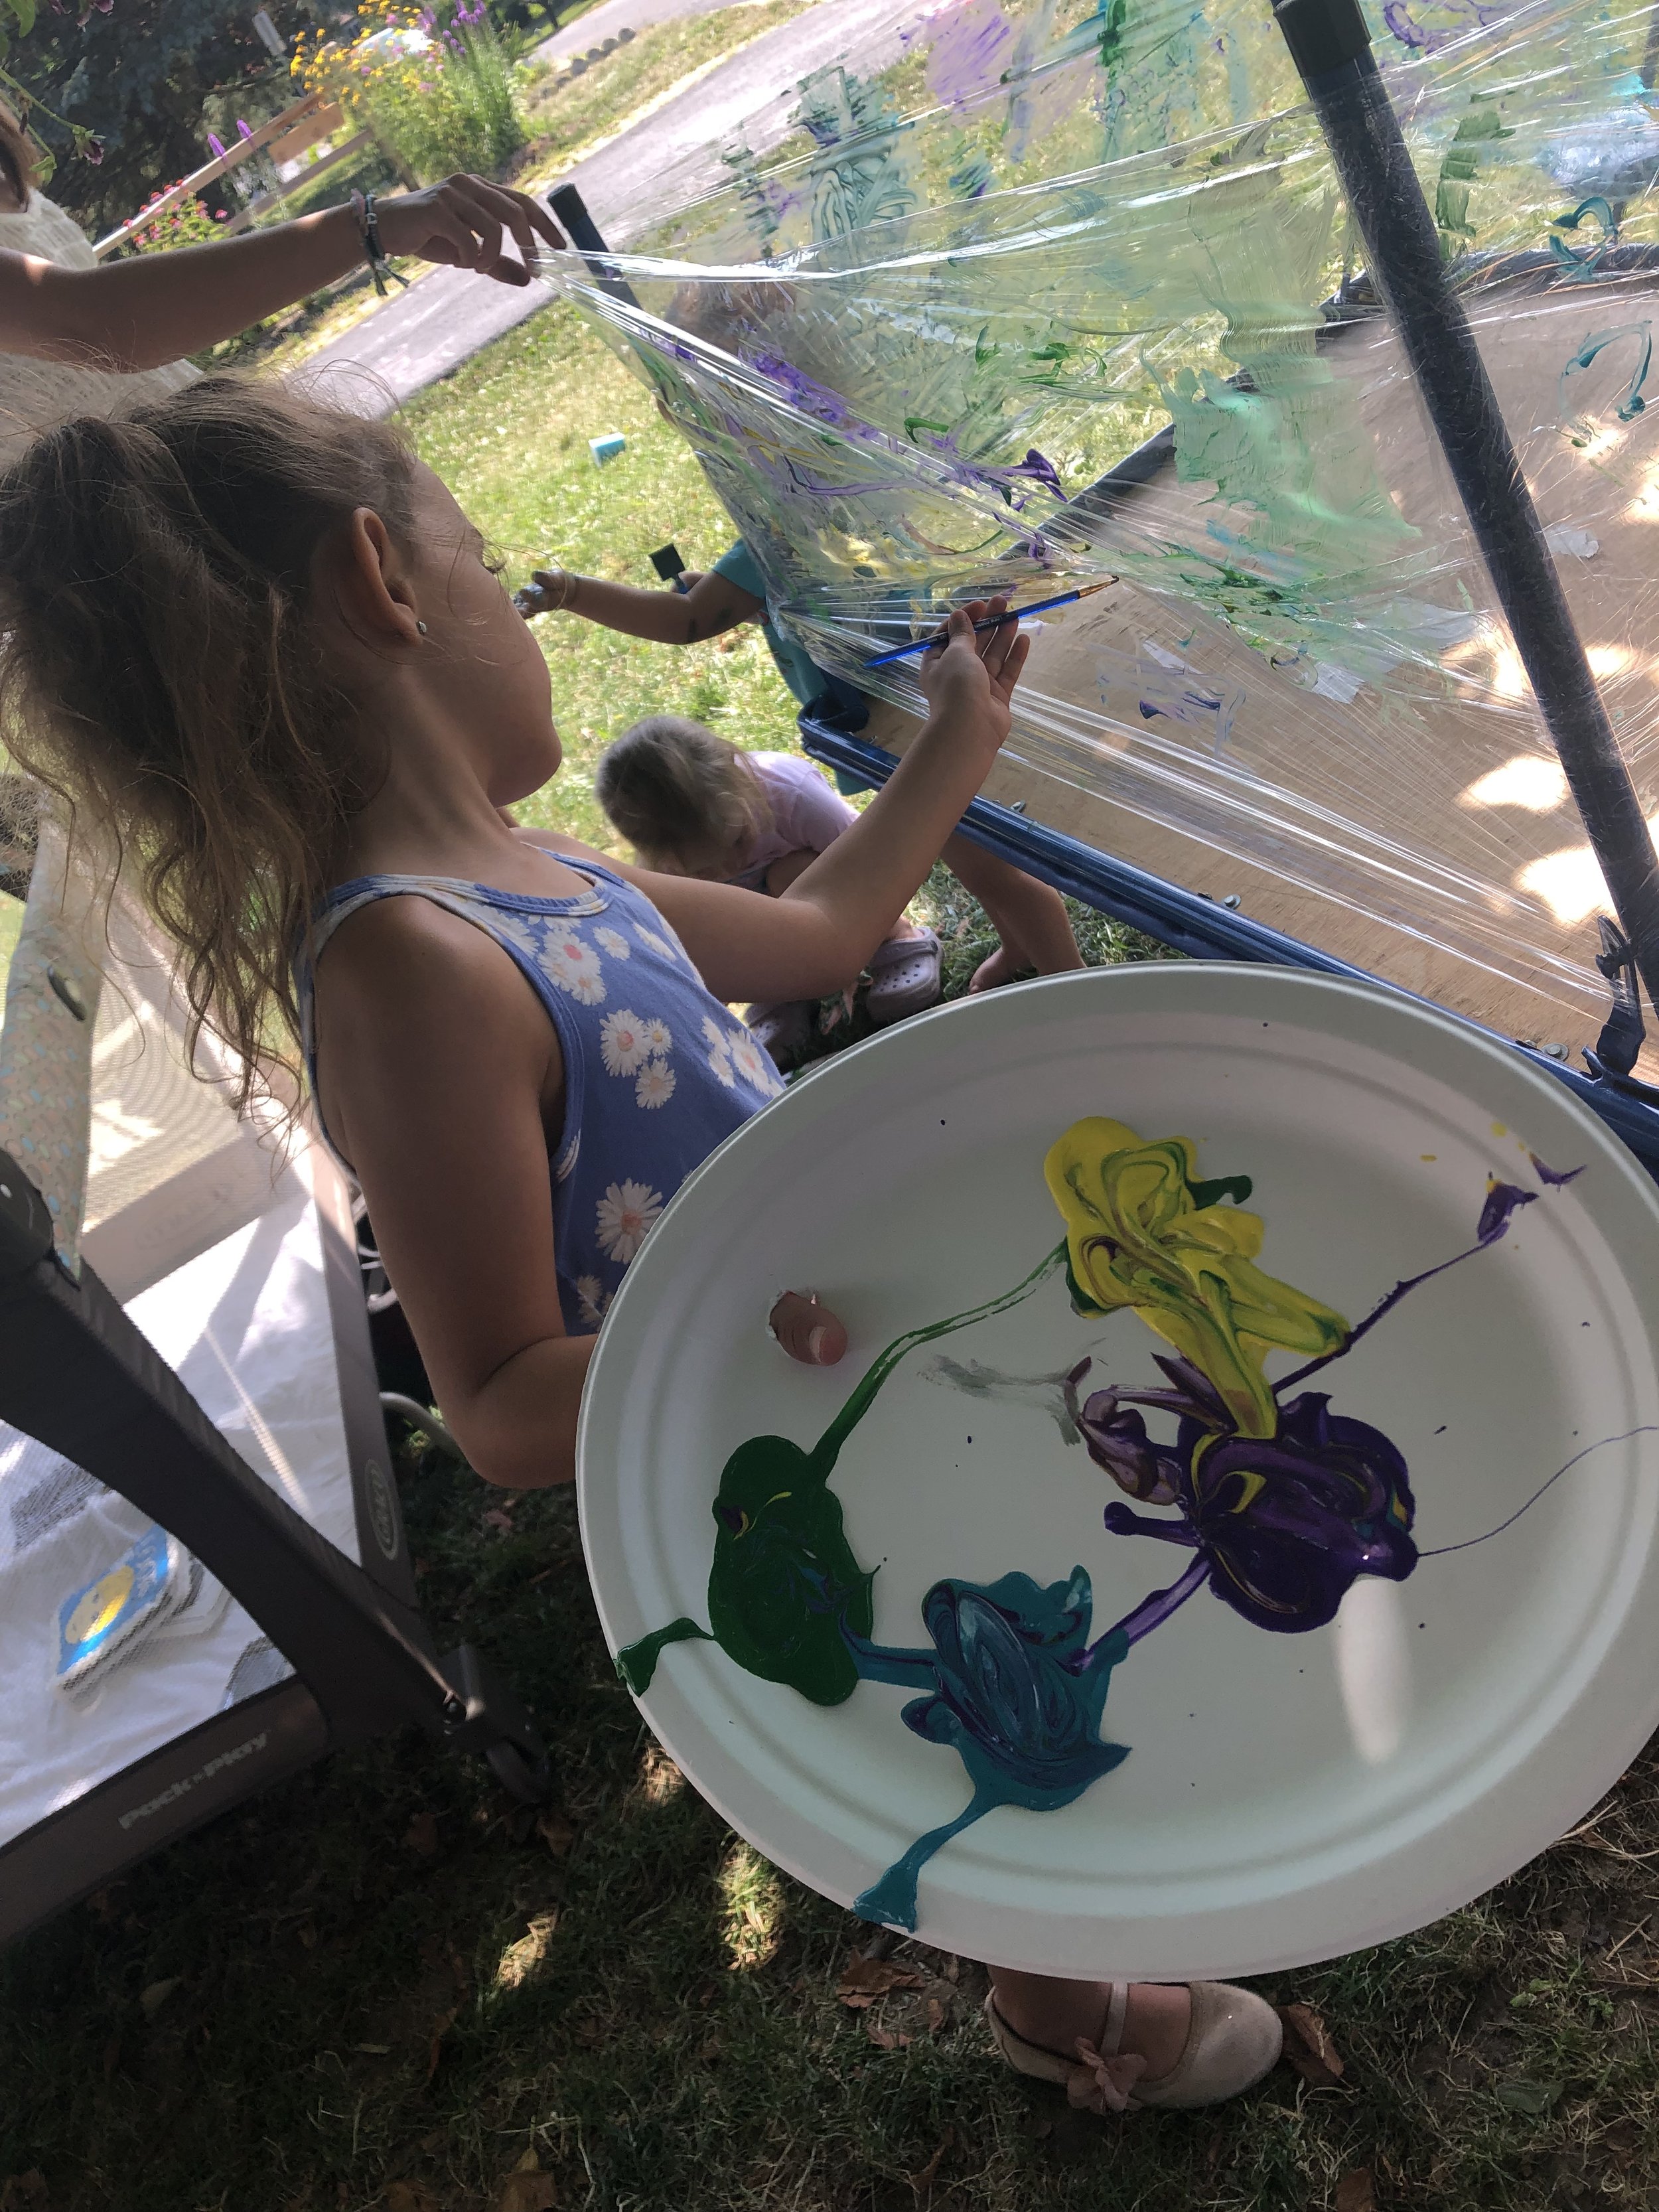
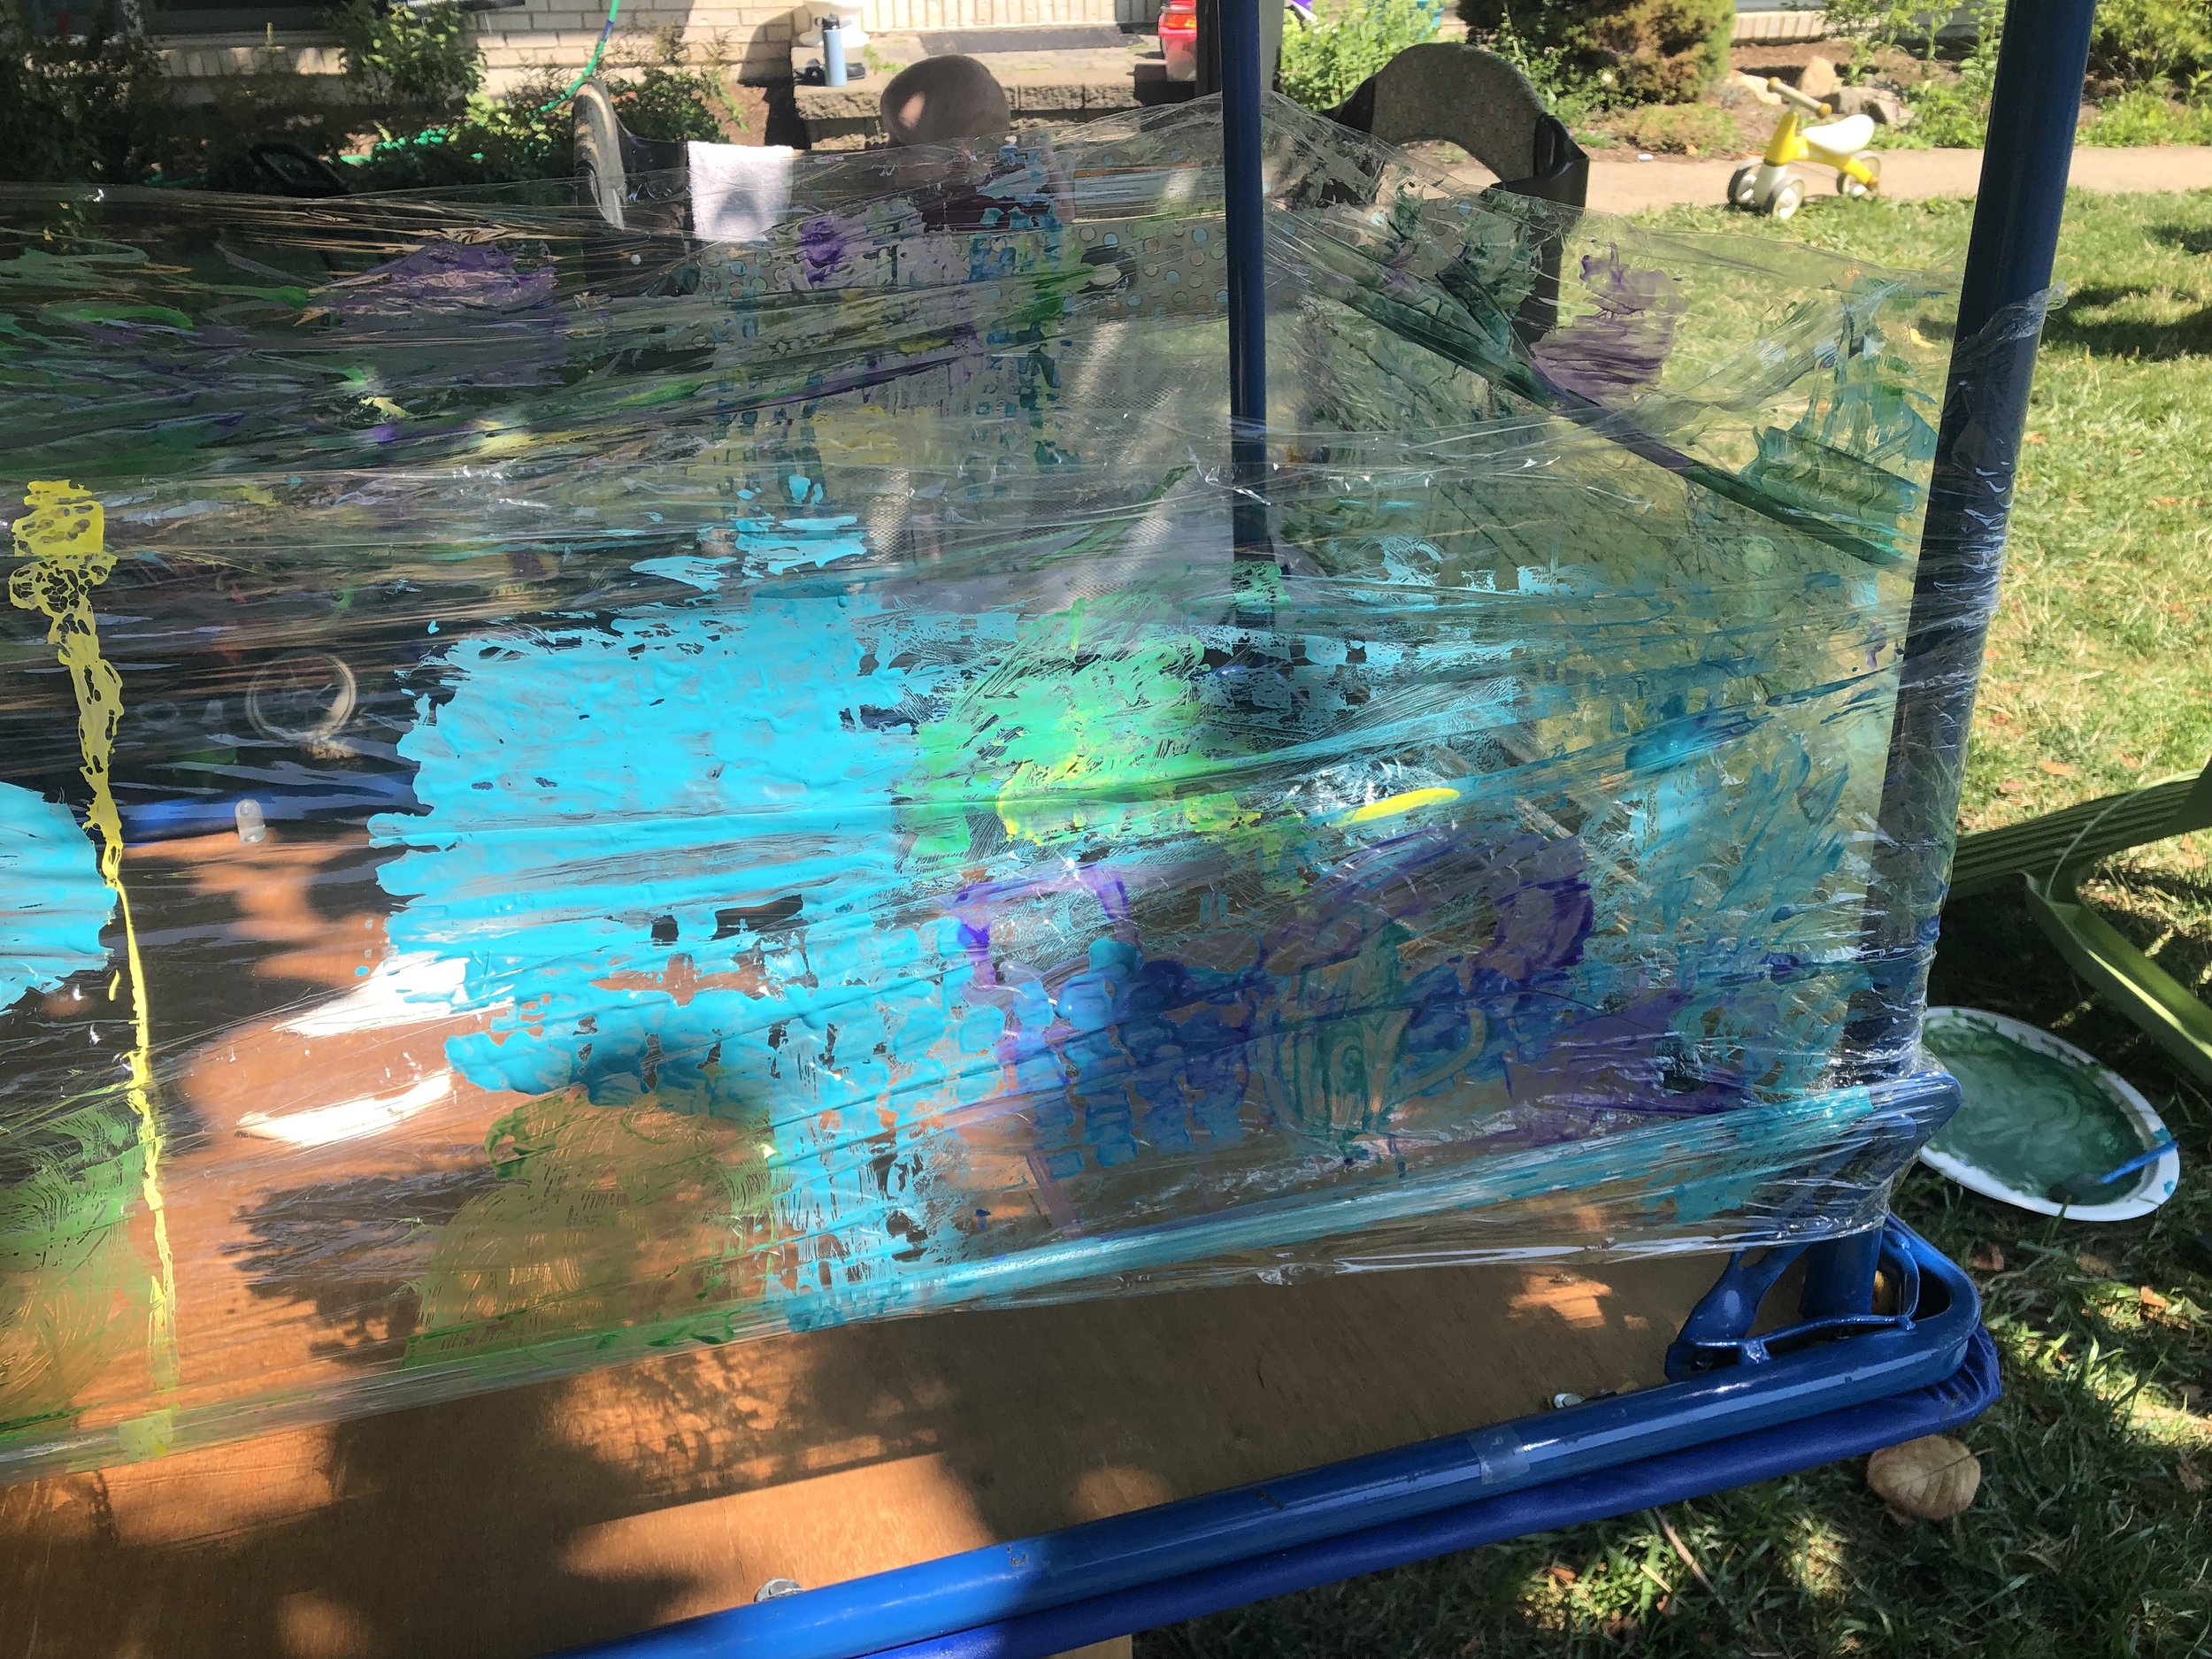
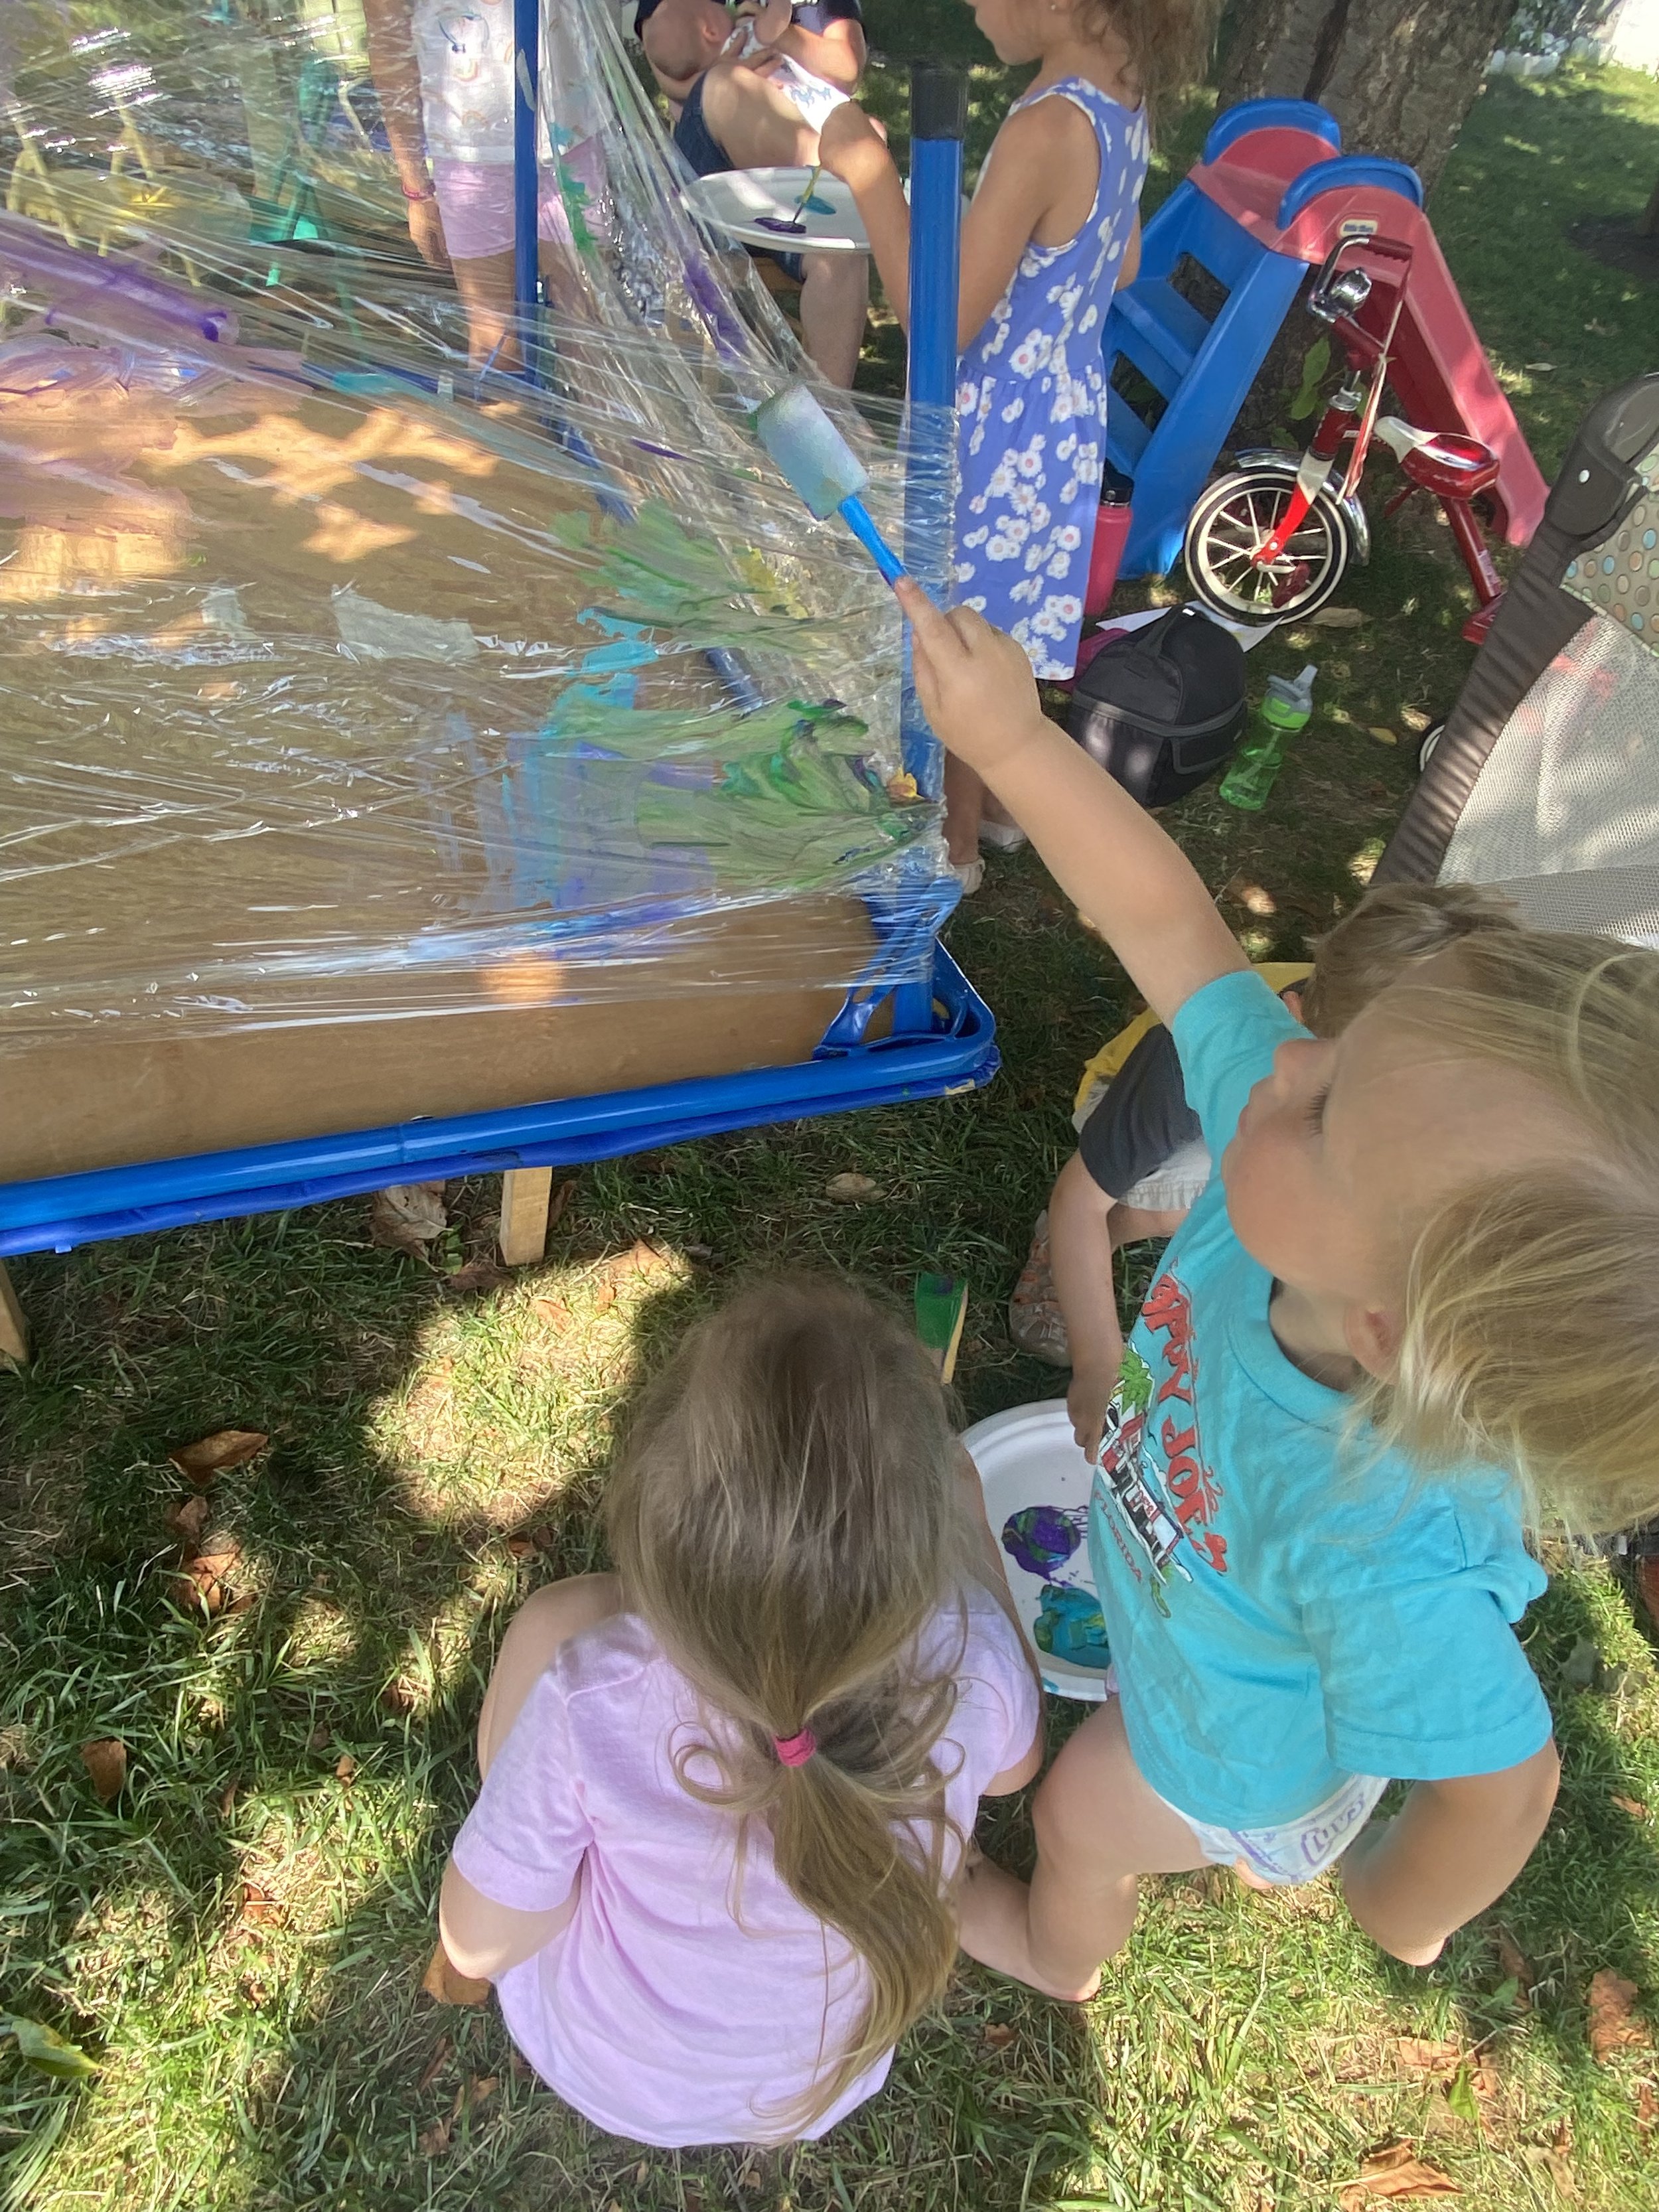
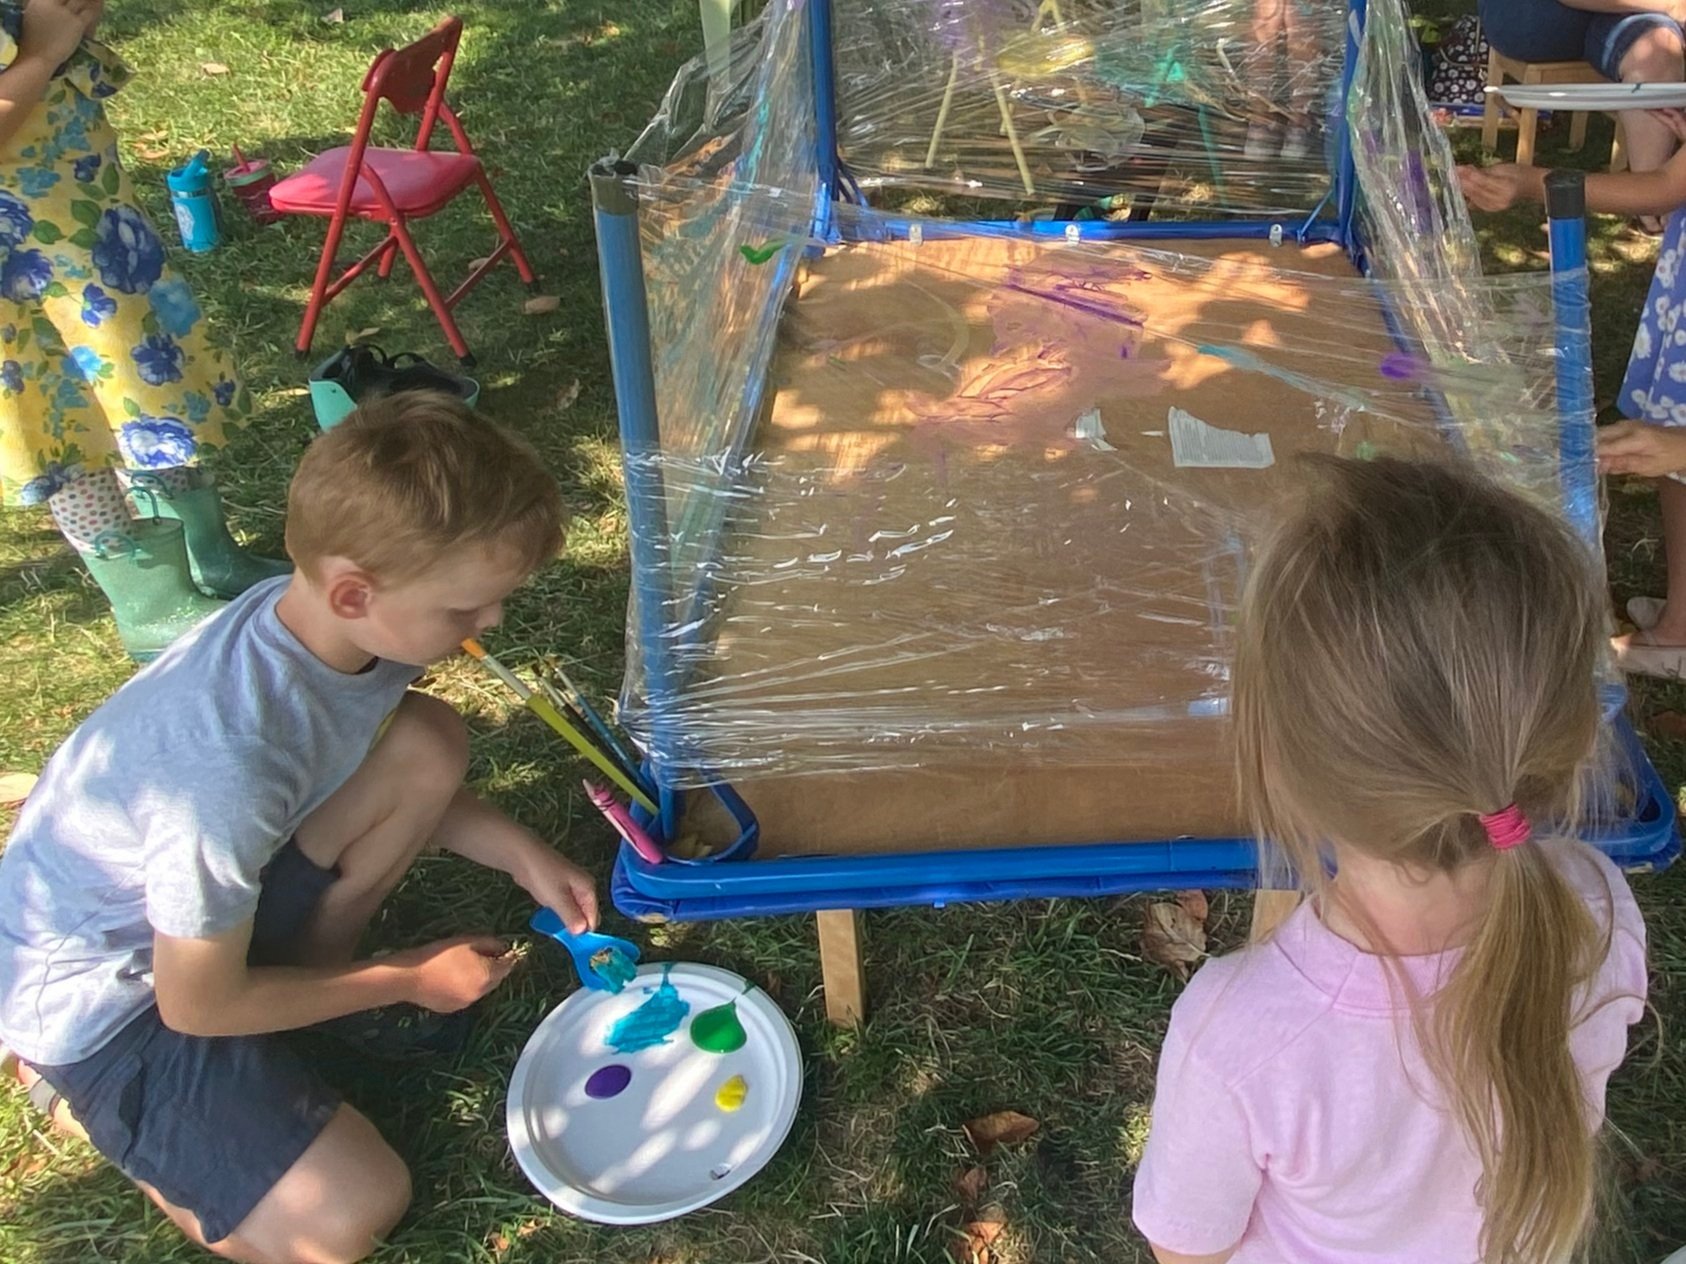
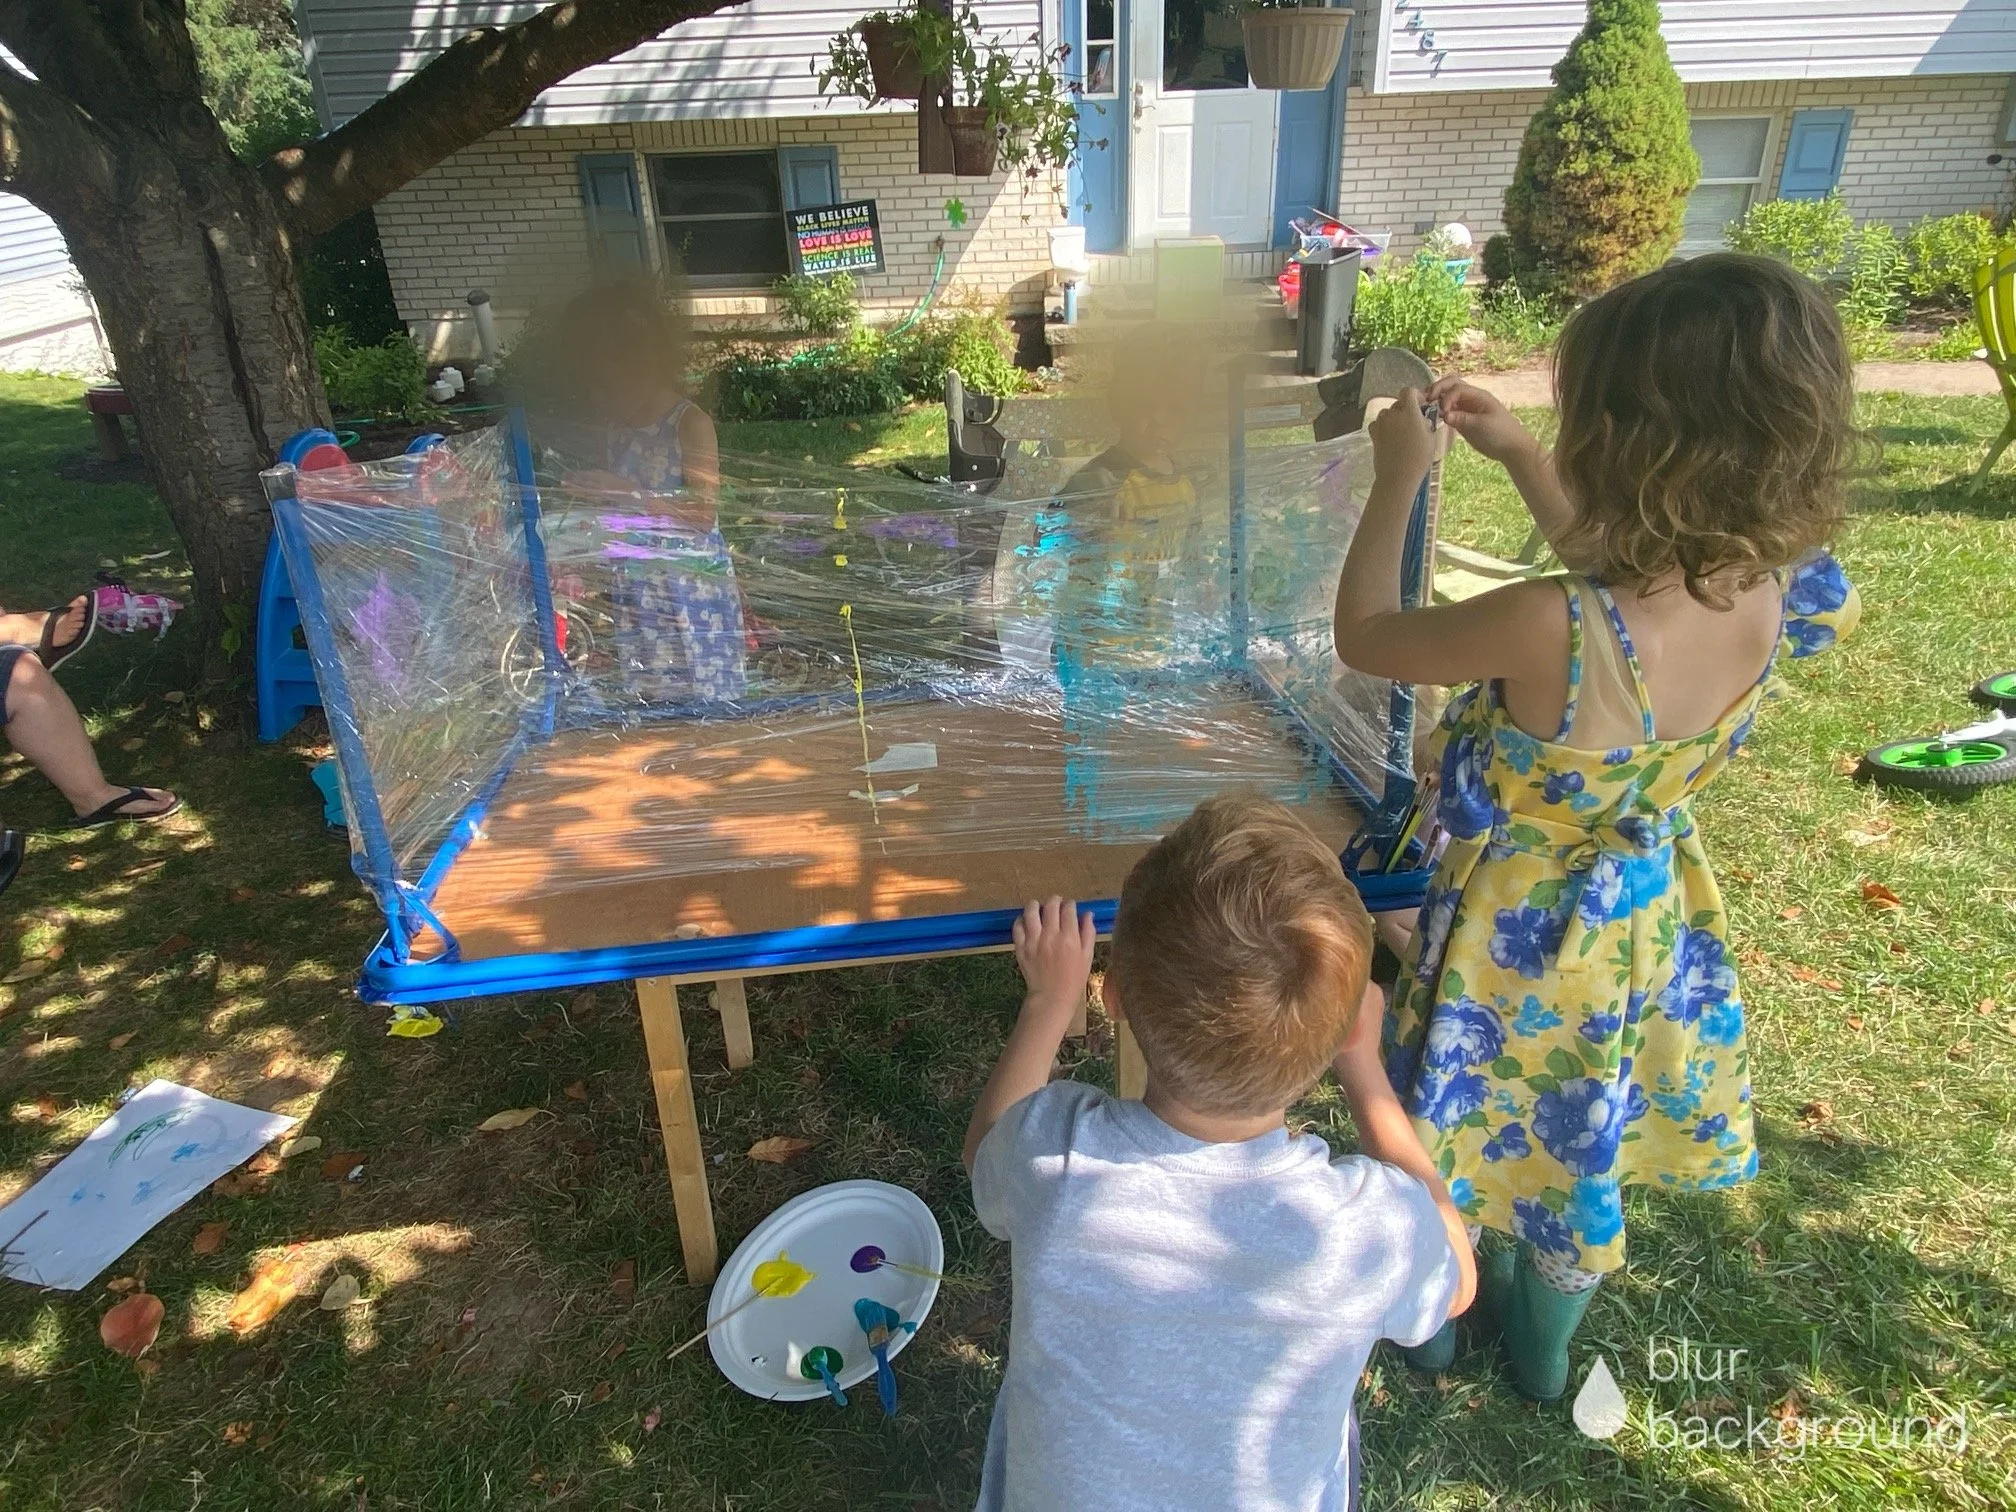
This is process art at its finest. We flipped the table upside down and propped it on chairs. Then the kids helped me wrap Saran wrap around the table legs. This required some teamwork and communication - they learned the hard way just how much that stuff sticks to itself! After we had four “walls” of plastic wrap, I made them each a little paint palette out of a paper plate. All I did was cut a thumb-hole for them to hold it, squirt some paint on there (we used tempera) and they were ready to roll!
This was a totally new painting experience for all of them. Here’s why:
To begin with, it was vertical. Their brains had to work in different ways to paint on a wall in front of them rather than on a paper at a table.
It also felt funny and slippery, and it was transparent, so it felt and looked different. I let them go to town with all the types of paintbrushes we own (they seem to multiply somehow when we aren’t using them, so there really is a huge variety).
Finally, they knew in advance that we wouldn’t be able to keep the finished product (because…how…?), although we did take pictures to document the whole experience.
The set up was easy. It was cheap (the plastic wrap came from the dollar store, and it didn’t take much paint!). The clean up was THE EASIEST - roll that plastic wrap up and throw it away. (Sorry, earth…! We actually don’t use plastic wrap in our kitchen at all…I bought it solely for this project.) It lasted well over an hour - the kids were so peaceful and so engaged!
Easy - check! Cheap - check! Engaging - check! Provides an outlet for creativity and some sensory input - double check! This one checked allllll the boxes.